
Learn how to master Summit Point in the FF1600


CONSPIT 300GT STEERING WHEEL
Best Value @ $399
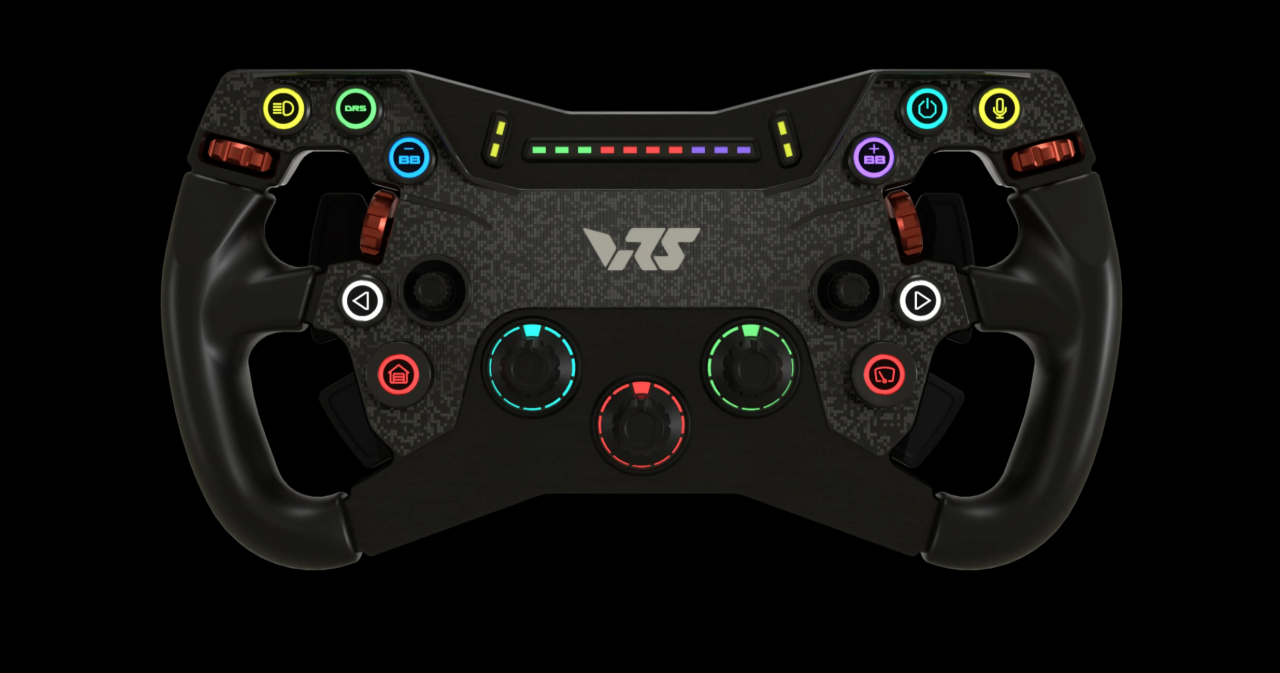
VRS R295 Steering Wheel
Best Value @ $349
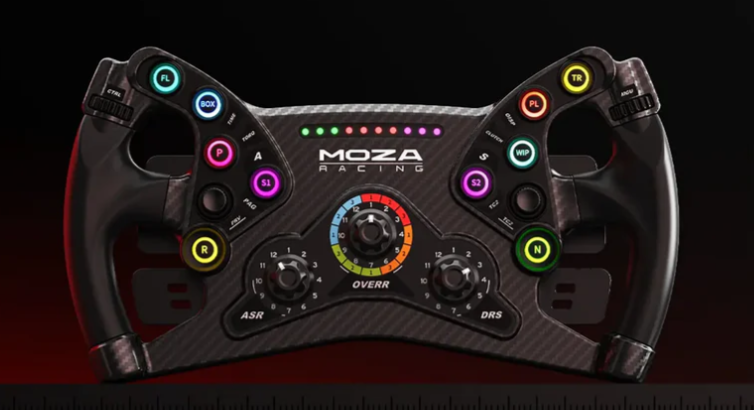
MOZA FSR2 Formula Wheel
Best Value @ $649
MOZA KS Steeering Wheel
Best Value @ $249
Introduction to iRacing and the Formula FF1600 at Summit Point Raceway
iRacing is widely regarded as one of the most realistic racing simulators available, offering an unparalleled platform for learning real-world racing techniques in a virtual environment. For aspiring racers or sim enthusiasts, the Formula FF1600 (often referred to as a Formula Ford) is an excellent starting point. This open-wheel, single-seater car is lightweight, responsive, and lacks aerodynamic aids like wings, making it a pure test of driving skill. Summit Point Raceway, located in West Virginia, is a 2-mile (3.22 km) technical circuit with 10 turns, featuring a mix of high-speed straights, tight hairpins, and flowing corners that demand precision.
This guide assumes you’re using iRacing to learn the track and car, leveraging its advanced physics engine and telemetry tools to refine your technique. The Formula FF1600’s 1600cc engine and manual H-pattern gearbox require careful management of braking, throttle, and gear shifts, while Summit Point’s layout punishes over-aggression and rewards smoothness. Using the Ray FF1600 Summit Point Raceway S4 2024 guide as a reference, we’ll dissect each turn, providing detailed instructions and insights to help you build speed and consistency.
Setting Up in iRacing
Before hitting the track, ensure your iRacing setup is optimized. Use a wheel and pedal setup (e.g., Logitech G29, Fanatec CSL Elite) for precise inputs, and calibrate your brake force to mimic the FF1600’s pedal feel—firm but not overly stiff. Adjust your field of view (FOV) to match your monitor size and seating position for better spatial awareness. Enable iRacing’s racing line as a beginner tool, but aim to wean off it as you memorize brake markers and turn-in points. Finally, use the replay system and telemetry (e.g., VRS or iRacing’s built-in data) to analyze your braking zones, gear choices, and apex speeds.
Now, let’s dive into the lap, starting from the front straight in 4th gear.
Turn 1 and Turn 2: The High-Speed Entry Complex
Approach and Positioning
Summit Point begins with a fast approach down the front straight in 4th gear. Position your Formula FF1600 far left, hugging the outside edge of the track. This sets you up for a wide entry into Turn 1, a sweeping right-hander that flows into the tighter Turn 2. Staying left maximizes your visibility and turning radius.
Braking Marker and Inputs (Turn 1)
- Brake Marker (BM): After the 4 cones on the left side of the straight.
- Braking Intensity: Apply 75% brake pressure steadily in a straight line. The FF1600’s lack of ABS means you must avoid locking the wheels—modulate if you feel the fronts skid.
- Braking Duration: Hold this firm brake input until you reach the one cone, then begin easing off.
- Downshift (DN-SHFT): As you reduce braking at the one cone, shift from 4th to 2nd gear. The FF1600’s gearbox is forgiving, but time your downshift to avoid upsetting the car’s balance.
Turn-In and Trail Braking (Turn 1 to Turn 2)
- Turn-In Point: Just before the road patch on the right side of Turn 1.
- Trail Braking (TB): Initiate a sharp trail brake as you turn in, smoothly reducing brake pressure while steering. This rotates the car toward Turn 2.
- Downshift (DN-SHFT): Drop to 1st gear during this transition. The sharp TB helps settle the car onto its front tires, preparing for the tight apex of Turn 2.
Acceleration and Apex
- Acceleration Point: Apply aggressive throttle just before the Turn 2 apex. In 1st gear, the FF1600 has enough torque to pull you out, but don’t mash it too early—wait until the car is pointed toward the exit.
- Apex: Aim for a late apex in Turn 2, staying close to the curb but not clipping it. The curb here is subtle, so brushing it is fine, but avoid riding it fully to maintain stability.
- Curb Interaction: Close to the curb—about a tire’s width away—ensures a tight line without bouncing the car.
Exit and Gear Changes
- Exit Path: Let the car rotate right toward the middle of the track as you exit Turn 2.
- Upshift (UP-SHFT): Shift to 2nd gear as the revs climb, then get back to the far right before the track straightens.
- Further Upshifts: Once fully straightened and on the right, upshift to 3rd, then quickly to 4th as you build speed toward Turn 3.
iRacing Tips
In iRacing, practice this complex by ghosting your car (using the “Drive Against Ghost” feature) to nail the braking point after the 4 cones. Use the replay to check if your trail braking into Turn 2 maintains a smooth arc—oversteer here means you’re braking too late or turning in too hard.
Turn 3: The Flowing Right-Hander
Approach and Positioning
After accelerating out of Turn 2 in 4th gear, position yourself far right, placing two tires on the white line. This wide entry sets up a smooth trajectory through Turn 3, a medium-speed right-hander.
Braking Marker and Inputs
- Brake Marker (BM): At the beginning of the 4 cones on the right.
- Braking Intensity: Apply just under 25% brake pressure—light and as needed. The FF1600 carries good momentum here, so heavy braking isn’t required.
- Downshift (DN-SHFT): Shift from 4th to 3rd as you brake lightly, keeping the car stable.
Turn-In and Throttle
- Turn-In Point: Halfway through the grass area on the left.
- Acceleration Point: Apply aggressive throttle a few meters before the curb, building to full power as you hit the apex. The FF1600 rewards early commitment here.
Apex and Curb Interaction
- Apex: Very late, aiming to clip the curb. Position your inside tires to just kiss the edge of the curb—full curbing risks unsettling the car.
- Curb Interaction: Clip the curb lightly to tighten your line without losing grip.
Exit
- Exit Path: Let the car run wide, with your right tires just past the exit strip. You can pick up a little sand without triggering a 1x off-track penalty in iRacing, but avoid deep excursions.
iRacing Tips
Focus on your throttle timing in iRacing’s practice mode. Too early, and you’ll understeer wide; too late, and you’ll lose exit speed. Use the track map overlay to confirm your apex is late enough.
Turn 4: The Left-Hand Sweeper
Approach and Positioning
Cross over to the left after Turn 3, positioning yourself outside the white line on the left (near the patch). Approach in 4th gear, carrying good speed from the previous exit.
Braking and Throttle Management
- Braking Marker (BM): No distinct braking—just throttle control.
- Throttle Input: Reduce throttle to just under 50% as you approach the turn, then increase to 65% as you near the apex. This balances the car through the sweeper.
Apex and Curb Interaction
- Apex: Very late, hugging the curb tightly. Stay a few inches from full curb contact to avoid bouncing.
- Curb Interaction: Hug the curb—close but not clipping—to maximize track width on exit.
Exit
- Exit Path: Stay right on the exit, setting up for Turn 5. No gear changes are needed—remain in 4th.
iRacing Tips
Experiment with throttle modulation in iRacing. The FF1600’s lack of downforce makes it sensitive to lift-off oversteer here—smoothness is key.
Turn 5: The Tight Hairpin
Approach and Positioning
After straightening from Turn 4, stay right near the dry grass patch.
Braking Marker and Inputs
- Brake Marker (BM): After you straighten at the dry grass on the right.
- Braking Intensity: Apply 65% brake pressure steadily.
- Downshift (DN-SHFT): Shift from 4th to 2nd as you brake.
- Turn-In Point: Before the path on the right, downshift to 1st gear.
- Trail Braking (TB): Use sharp TB initially, then reduce to minimum if needed as you rotate the car.
Acceleration and Apex
- Acceleration Point: Go full throttle just before the very late apex.
- Apex: Very late—sacrifice the exit speed slightly to prioritize a tight line.
- Curb Interaction: Close to the curb but avoid clipping to maintain control.
Exit and Gear Changes
- Exit Path: Rotate the car back left toward the inside.
- Upshift (UP-SHFT): Shift to 2nd gear as you exit.
iRacing Tips
This hairpin is a common trouble spot. Use iRacing’s sector times to ensure your entry speed isn’t too high—over-braking kills momentum, while under-braking sends you wide.
Turn 6: The Tricky Right-Hander
Approach and Positioning
Approach from the left after Turn 5, building speed in 2nd gear.
Braking Marker and Inputs
- Brake Marker (BM)/Turn-In: Where the tire wall sticks out on the right.
- Braking Intensity: Brake 45% briefly, then trail brake (TB) to minimum as needed.
- Downshift (DN-SHFT): Shift to 1st gear during the TB phase.
Acceleration and Apex
- Acceleration Point: Apply aggressive throttle to full just before the apex.
- Apex: Late, about a car length before the tarmac patch ends.
- Curb Interaction: Clip the curb lightly to tighten the line.
Exit
- Exit Path: Exit mostly wide, continuing to rotate right, then clip the curb again as you settle in the middle of the track.
iRacing Tips
The tire wall is a visual cue—practice aligning your braking with it in iRacing’s time trial mode to perfect the rhythm.
Turn 7: The Flat-Out Right
Approach and Positioning
Approach right of middle in 2nd gear, flat out.
Throttle and Apex
- Throttle Input: Reduce to 75% briefly if needed to settle the car.
- Apex: Clip the curb lightly.
- Curb Interaction: Clip curb for a tight line.
Exit
- Exit Path: Exit left, staying left of middle for Turn 8.
iRacing Tips
Minimal inputs are key—oversteer here costs time. Use iRacing’s force feedback to feel the car’s limits.
Turn 8: Another Flat-Out Corner
Approach and Positioning
Approach from the middle in 2nd gear, flat out.
Gear Change and Apex
- Upshift (UP-SHFT): Shift to 3rd as you enter.
- Apex: Late, clipping the curb.
- Curb Interaction: Clip curb lightly.
Exit
- Exit Path: Exit left, staying left of middle.
iRacing Tips
Smooth steering avoids upsetting the car—practice this in iRacing’s ghost mode.
Turn 9: The Wide-Open Left
Approach and Positioning
Approach left of middle in 3rd gear.
Apex and Exit
- Apex: Late, clipping the curb.
- Curb Interaction: Clip curb for a tight line.
- Exit Path: Run wide, using all of the strip.
- Upshift (UP-SHFT): Shift to 4th down the straight.
iRacing Tips
Maximize exit speed here—use iRacing’s telemetry to ensure full throttle carries through.
Turn 10: The Final Challenge
Approach and Positioning
Approach in 4th gear from the left.
Braking Marker and Inputs
- Brake Marker (BM): Where the pit lane exit begins.
- Braking Intensity: Brake 45% for a beat, then reduce into a long TB.
- Downshift (DN-SHFT): Shift to 3rd during TB.
- Turn-In Point: Before the pit entrance ends.
Throttle and Apex
- Throttle Input: Slowly control throttle to full several car lengths before the curb begins.
- Apex: Very late—avoid the sand on exit.
- Curb Interaction: Close to the curb, but don’t clip.
Exit and Gear Changes
- Exit Path: Run wide over the exit curb, avoiding the sand.
- Upshift (UP-SHFT): Shift to 4th to finish the lap.
iRacing Tips
The long TB requires finesse—practice this in iRacing’s replay to perfect the transition.
Conclusion: Mastering Summit Point in iRacing
Learning Summit Point Raceway in the Formula FF1600 via iRacing is a journey of precision and patience. Each turn demands a unique blend of braking, throttle, and gear management, amplified by the FF1600’s raw dynamics. Use iRacing’s tools—replays, telemetry, and practice sessions—to refine your technique, focusing on consistency before chasing outright pace. With this guide, you’ll build a lap that’s both fast and repeatable, ready to take on the competition.
SHARE THIS STORY ANYWHERE YOU LIKE
SHARE THIS STORY ANYWHERE
fusion_global=”97″]